It’s almost time for CHRISTMAS!!! I’m getting in the spirit already, and I have burlap coming out of my ears! Take a look and see if I can help decorate your mantle this year with some burlap and plaid stockings.
Christmas Stockings November 12, 2012
It’s that time of year again, and I know several people who have already pulled out their Christmas decor and are starting to deck the halls. Do you know what would make your decorations a little brighter this year?? New stockings. Come visit my Etsy shop pick out your stockings today!
-care
Great Pins October 4, 2012
Am I the only Pinterest user who pins all day, everyday, but never uses the things I pinned?! Well, I decided to try a few things out today.
1. Vinegar for Vinyl: I, unfortunately, have vinyl floors in my kitchen. I usually mop them with a Swiffer Wet Jet, but today I found my solution bottle to be empty…shoot. I decided to try a Pin that suggested mopping vinyl with a 1/2 cup of white vinegar in a bucket of hot water. It actually cleaned my floors super well! I was very impressed with the degree of clean that I was able to obtain. Buuuuutttt…now my house smelled like a pickle factory. BLAH.
on to my 2nd Pin
2. Vanilla in the Oven (a deodorizer): I was assured that realtors use this little “trick” when showing a house. I put 2 cap-fulls of vanilla extract in a ramekin and popped it into a 300 degree oven. They were right! In about 15 minutes, my house no longer smelled like vinegar and now smelled of baked goods. Buuuuuutttt…I didn’t have anything yummy to look forward to. *tears*
and now for the 3rd Pin
3. Caramel Apple Upside-Down Cake: This one deserves a picture. I haven’t made it yet, but I plan to do just that for us to enjoy during Bible Study tonight. I’ll let you know how it goes!
– care
Turkey Taco Pasta September 27, 2012
As I was preparing for dinner last night, I realized I was down to a package of ground turkey and 2 chicken breasts. I was really hoping that I’d open the freezer and find a frozen pizza, but, alas, these were my options. After a rousing round of “Eeny, Meeny, Miney, Mo,” I chose the turkey. Here’s what I came up with!
Turkey Taco Pasta
Ingredients:
8oz small shell pasta
1lb ground turkey, or ground beef
salt and pepper to taste
1/2 onion, diced
1/2 jalapeno, seeded and diced (optional)
2Tbsp taco seasoning
1 can Rotel
3oz cream cheese
2Tbsp sour cream
1/2 cup shredded cheddar or Mexican blend cheese
fresh cilantro (optional)
Method:
Prepare pasta according to package directions. Drain, but reserve about 1/4 cup of the pasta water. Brown ground turkey in skillet over medium heat. Add in onion and jalapeno and season with salt and pepper. Cook until turkey is no longer pink and onion and pepper are tender. Sprinkle with taco seasoning and let simmer for 5 minutes, stirring occasionally. Drain meat mixture. Stir in Rotel, undrained. Add in cream cheese, and sour cream and cook on low heat, uncovered, until all ingredients are combined. Stir in pasta and shredded cheese. If desired, top with fresh cilantro.
*This dish is pretty spicy. A few ways to tone down the spice: use MILD Rotel and do not add the jalapenos. But, I’ve been told that some like it hot…
Enjoy!
-care
What I Made Today: Banana Bread September 19, 2012
 I have a girlfriend coming over for a visit today and thought a yummy breakfast bread sounded nice. I adapted this recipe from my Better Homes and Gardens Cookbook. That book has taught me everything I know!
Banana Bread
Ingredients:
2 c. all-purpose flour 2 eggs, beaten
1 & 1/2 tsp. baking powder 1 & 1/2 c. mashed banana ( 3 large)
1/2 tsp. baking soda 1/4 c. cooking oil
1/4 tsp. salt 1/4 c. unsweetened applesauce
1/4 tsp cinnamon (I think I added a “heaping” 1/4) 1 c. sugar
* optional streusel topping (honestly, not optional, use it): 1/4 c. packed brown sugar, 3 Tbsp. AP flour, 2 Tbsp. chilled butter
Method:
Preheat oven to 350 degrees. Grease a 9″ or 10″ loaf pan (or 2 of the small 7″), set aside. In a large bowl, whisk together flour, baking powder, baking soda, salt, and cinnamon. Set aside. In a medium bowl, beat eggs. Add banana, oil, applesauce, and sugar. Whisk until combined. Add wet mixture all at once to flour mixture. Fold mixture until combined. Don’t overbeat…mixture will remain lumpy. At this point, you can stir in a 1/4 cup chopped walnuts if you have them. I didn’t. Wah. Pour mixture into prepared pan(s). If you have decided to use the streusel topping, if not you’re a crazy person, stir together brown sugar and flour. Using a pastry cutter, or 2 knives, cut in cold butter until mixture is coarse and sand-like. Sprinkle topping on to batter. Bake for 50-55 minutes for the 9″ or 10″. Check your 7″ loaves after 40 minutes. Bake until the center of your loaf is set. Leave pan on wire rack to cool for 10 minutes. Loosen sides with a knife and carefully flip over pan to remove the loaf. *tapping the bottom of your pan on the counter or with a knife will help loosen the bottom of the loaf. Allow loaf to cool or just dive on in.
Enjoy!
-care
Chipotle’s Cilantro-Lime Rice September 14, 2012
I had planned to make chicken fajitas for dinner last night, and I was wanting a side to go with it. I had one lime and a bunch of cilantro left over from Little Mister’s bday party, so I searched through my Pinterest food board and came across a recipe for “Copycat Chipotle Rice.” Do I have any Chipotle lovers out there?! Whether you favor Moe’s or Q’doba (Yuck and Yuck), we all have to agree that Chipotle’s cilantro rice is THE BEST. Hands down.
The recipe came from an Indian chef’s blog, US Masala. I changed a few things based on what I had in my fridge and pantry…but it turned out great!
Chipotle’s Cilantro-Lime Rice
ingredients:
1 cup white or Basmati rice, uncooked
1 Tbsp olive oil
1 Tbsp green chiles or jalapenos, finely chopped
1/2 cup chopped, fresh Cilantro leaves
salt, to taste
juice of a half of lime, about 2 Tbsp
1 tsp lime zest (or just whatever you can get from 1 lime)
1/4 tsp white sugar
method:
Cook rice according to package directions. Set aside to cool. In a medium saucepan, heat oil over medium heat. Add in chiles/jalapeno, and saute for about 1 minute. Add in rice, cilantro, and salt. Stir and allow to cook for 2 minutes. Add in lime juice, lime zest, and sugar. Stir until combined. Serve as a side or as an addition to fajitas or burritos.
Enjoy!
-care
1st Birthday Party September 10, 2012
There is a lot of pressure in planning your first baby’s 1st birthday party. With the birth of Pinterest and extremely talented and rich mothers, I was feeling a little overwhelmed. There were several points where I screamed, “I’m throwing in the towel! No party for you, Little Mister!” But that was just one low point. Honest. All in all, we had a very successful and fun birthday party. I’ll tell the tale through some pictures. Enjoy!
-care
My Baby is One! August 28, 2012
When we found out we were pregnant, we were ecstatic! We had only been married for 5 months, but we were ready to start our family. This was the first peek we had at our little peanut. I was convinced it was a girl, but I was corrected a few weeks later when we discovered we were pregnant with a little boy.
I immediately started thinking about all of the fun we would have playing outside, watching him play sports, and the new wardrobe of cargo khakis and Tevas I would need to buy for myself.
(23 weeks)
I really loved being pregnant. I had a wonderful pregnancy, and I loved loved loved maternity clothes. That elastic panel is genius.

(32 weeks)
Eric was so wonderful while I was pregnant. He let me complain, sleep in til noon, and eat everything in sight. It was so fun when he could finally feel the Little Guy start to move around.

(34 weeks)
Then the big day came. On August 28, 2011, I was introduced to my sweet baby boy. When the doctor put him up on my chest, I was more in love than I ever thought possible.

We knew our lives would never be the same again. We were parents. Whoa.

Happy 1st Birthday, Reese Daniel!! I love you so so much.
And thank you, Daddy, for my wonderful birthday sprinkle pancakes!
-care
What I Made Today: Homemade Cheese-its August 24, 2012
I have a very unhealthy relationship with Cheez-its. I could eat them all day, every day. So when I found this recipe for Homemade Cheez-its on Pinterest, I just HAD to make them.
Homemade Cheez-its (adapted from Robin at “A Chow Life”)
Ingredients:
8oz sharp cheddar cheese, coarsely shredded
4Tbsp unsalted butter, room temperature
3/4tsp salt
1cup all-purpose flour
2Tbsp ice water
Method:
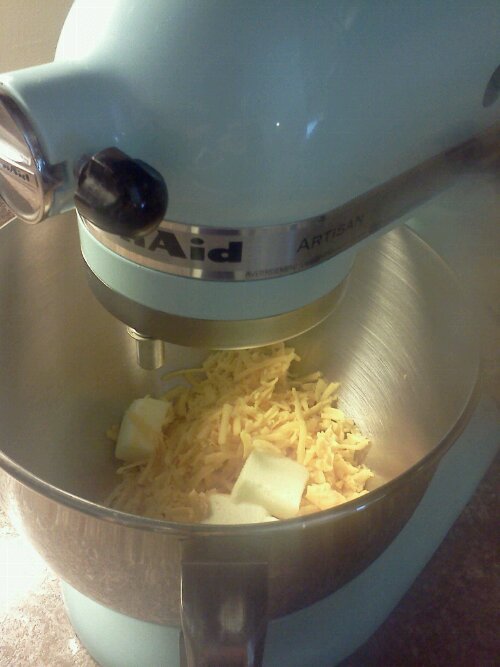
Start by placing cheese, butter, and salt in the bowl of your stand mixer. With the paddle attachment, mix until thoroughly combined.
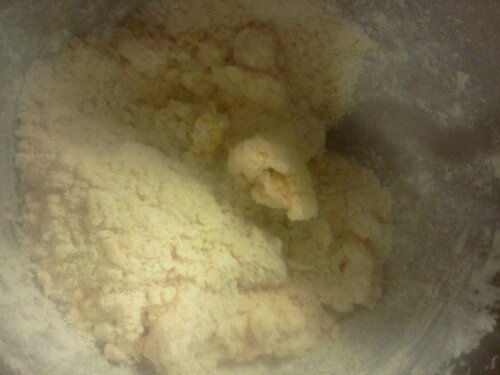
Add flour and mix on low until combined. The mixture should resemble the consistency of sand.
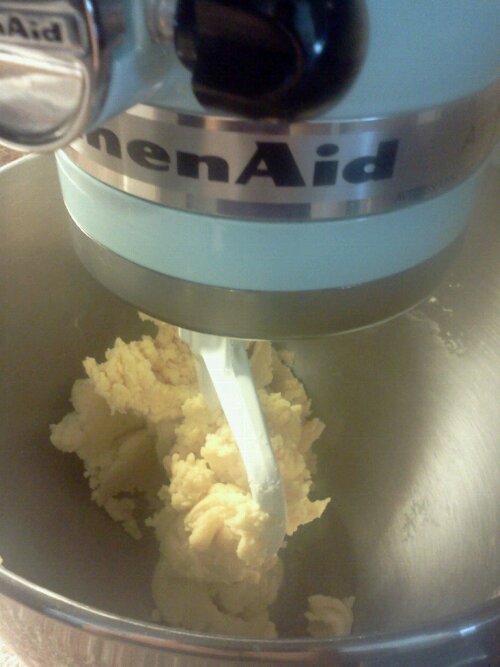
Slowly add ice water until a soft dough ball is formed. *If your dough is not coming together, add more water in TINY increments until the dough forms a ball.*
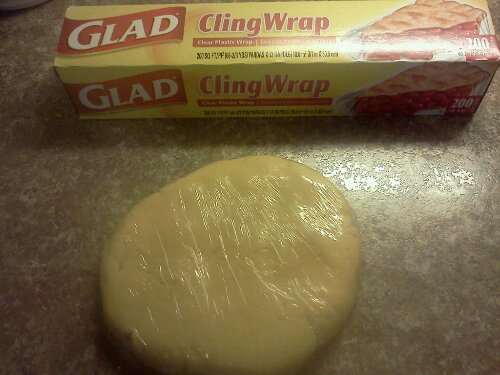
Form your dough into a disc, wrap in plastic wrap and refrigerate for 1 hour. This step chills the dough so that it is more manageable for our next step. Use this time to tidy up the kitchen, take a shower, or eat the rest of your block of cheese…
After an hour, preheat your oven to 375 degrees. Line 2 baking sheets with parchment paper. Remove dough from fridge and divide into 2 equal parts. On a lightly floured surface, roll out dough until 1/8″ thick. Using a sharp knife, pastry cutter, or pizza cutter, cut your dough into 1″x1″ squares. Poke a hole in the center of each square with a skewer or toothpick. Transfer your cute little squares to the lined baking sheets, putting a little space between them.
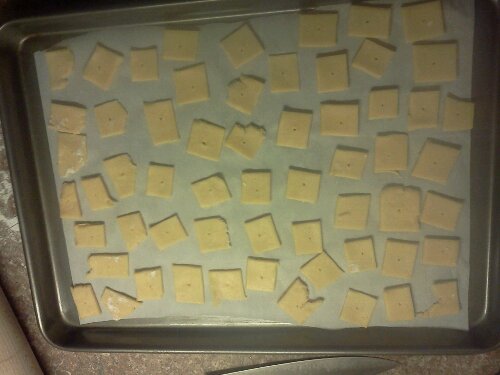
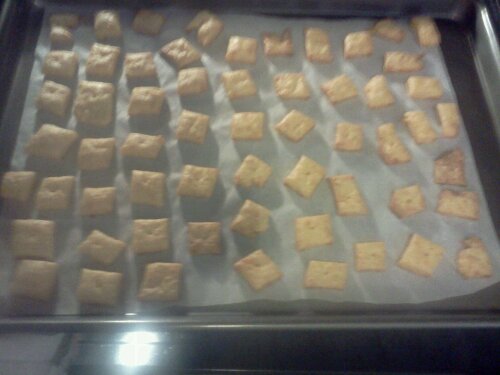
Bake 1 batch at a time for 13-15 minutes. Due to the high fat content of the cheese and butter, the bottoms can burn quickly. I would suggest looking at the crackers after 10 minutes to make sure this doesn’t happen. If you are worried, err on the side of being under-cooked!
Remove from oven and place directly onto a cooling rack. If desired, sprinkle with a little salt while still warm. Go ahead and try one…I know you want to!
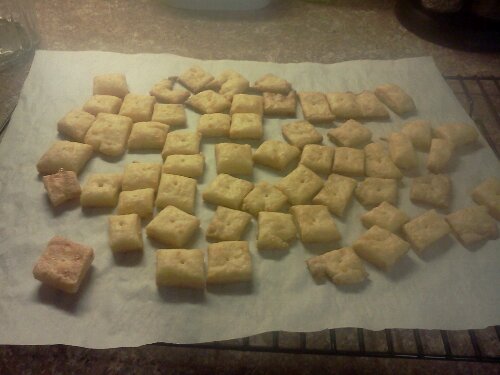
Pretty good, right?? I love the smoky flavor of baked cheese. Yum. If you have any left, store in an airtight container.
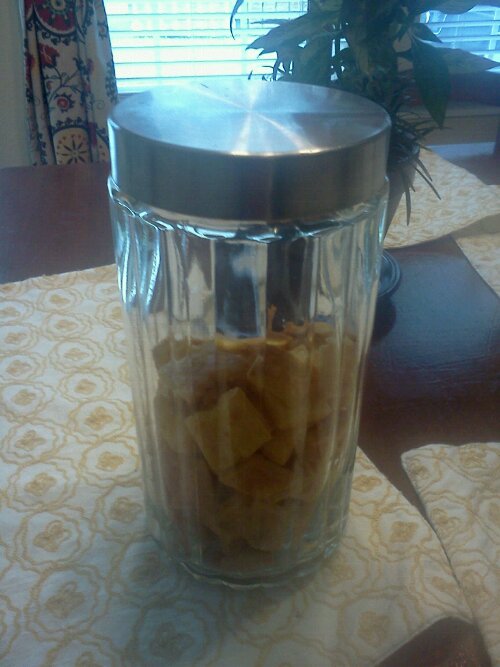
These cost me about $2 to make, and I actually prefer them over the ones in the red box. I know…blasphemy. But they have a softer texture and are just delish! Believe me, I am a woman of convenience, but it’s fun to make things at home to see just what you are capable of.
Enjoy!
-care


